Managing Sports Awards
Celebrate your student-athletes by creating, assigning, and tracking student sports awards.
Creating Sport Awards
Click Manage > Sports.
Click Awards.
Click + New Award.
Enter the award name and select the corresponding school from the dropdown menu.
Click Create Award.
Editing or Deleting Awards
Click Manage > Sports.
Click Awards.
Click Edit or Delete.
If editing, make your revisions and click to save the changes.
If you delete, a confirmation message will appear for you to verify the request.
Assigning Awards
Click Manage > Sports.
Click Roster.
Check that you are in Roster Mode.
Click Player Info.
Type the award name into the Awards field (Autocomplete will be based on your existing awards).
Viewing Awards
Click Manage > Sports.
Click Roster.
Click Player Info.
An athlete's awards will be listed in the Awards input.
You can remove an athlete's awards from the Awards input. Click the X on the award box.
You can obtain a list of all awards given to your Athletes from Manage > Sports > Reports by choosing Roster & Award History.
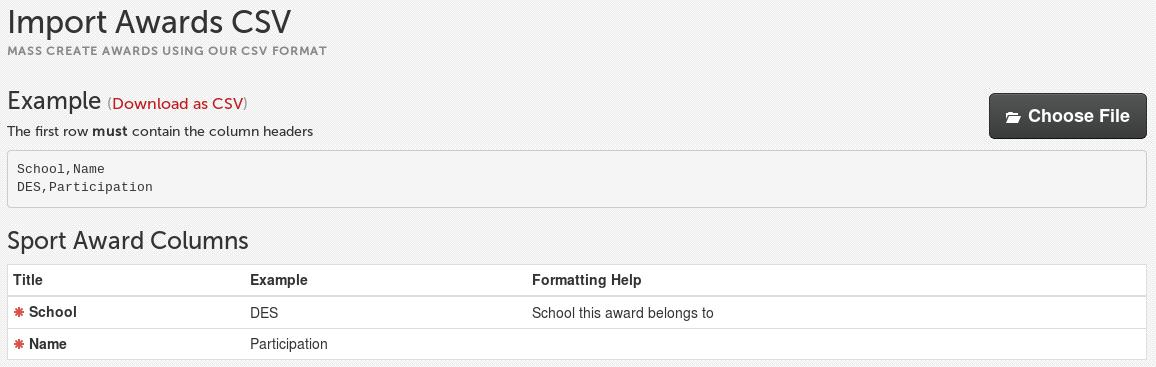
If you wish to mass import the awards your district uses into FinalForms for tracking, you can do so using our awards import tool:
Import Sport Awards
Please exercise caution when importing data into FinalForms. Thorough planning and understanding of the data are crucial to avoid overwriting important data or causing errors. If you need help, don't hesitate to contact the FinalForms Support Team directly.

Click Manage > Sports.
Click Awards.
Under Instructions, click Download Example CSV to obtain the templated CSV file. Open the file using your preferred spreadsheet application.
Enter your data into the spreadsheet, ensuring all required fields are completed.
Delete the example row from the top of the spreadsheet.
Save/export the file in CSV format, then return to the corresponding page.
Click Choose File to Import and upload your CSV file from its saved location.
Once the CSV file has been uploaded, the import will begin processing for your final review.
The Preview Data From will confirm all entries:
Green checkmark for matching fields
Yellow X for fields that do not match FinalForms data points and will be ignored during the import.
Make any corrections, re-save the CSV, and use Re-Upload your File to restart the import.
If everything shows as , click Perform import at the bottom of the page.
Do not close the page until the import is completed.
When finished, you can click Download Error CSV to make corrections and try again from that specific error file.
OR click Choose Another File to import to restart the process with a new, separate CSV file.